Learning to love yourself is one of the most difficult things a person can do. It’s something that seems to get a little bit easier as you age and start to accept yourself for who you are; however, it’s still something that so few of us perfect. Your own self is the only person that you can truly rely on 100% of the time, so it’s important to care for and nurture yourself as much as you would to anyone else. Listed below are some of the necessary steps that you need to take in order to learn to love yourself.
Take Care of Yourself
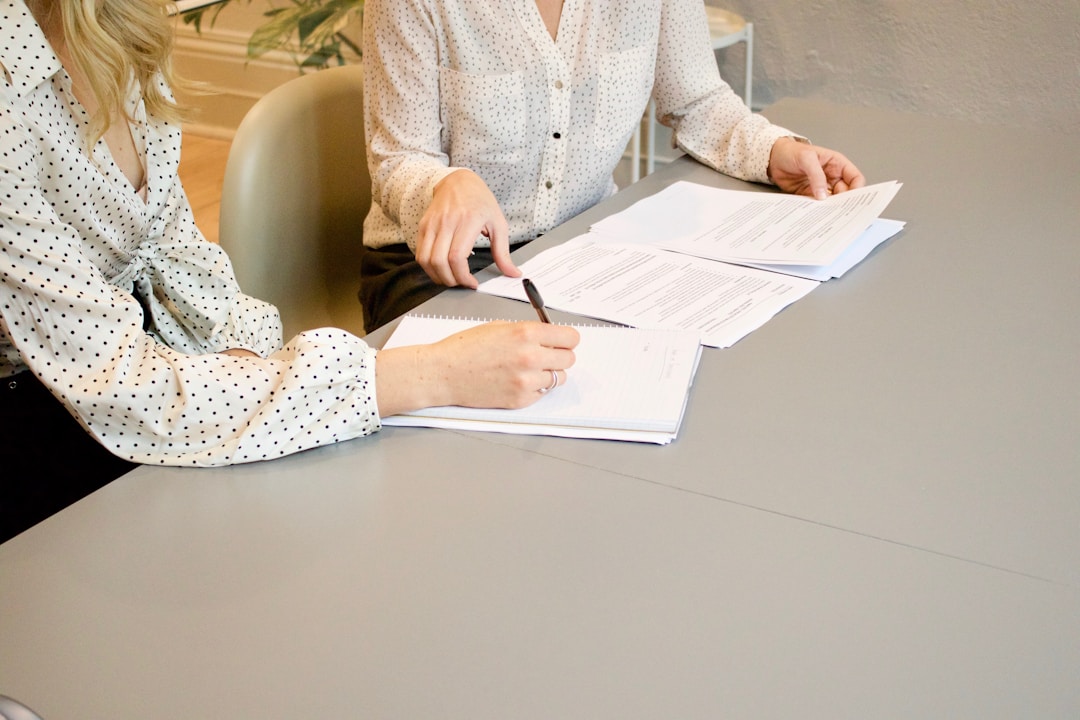
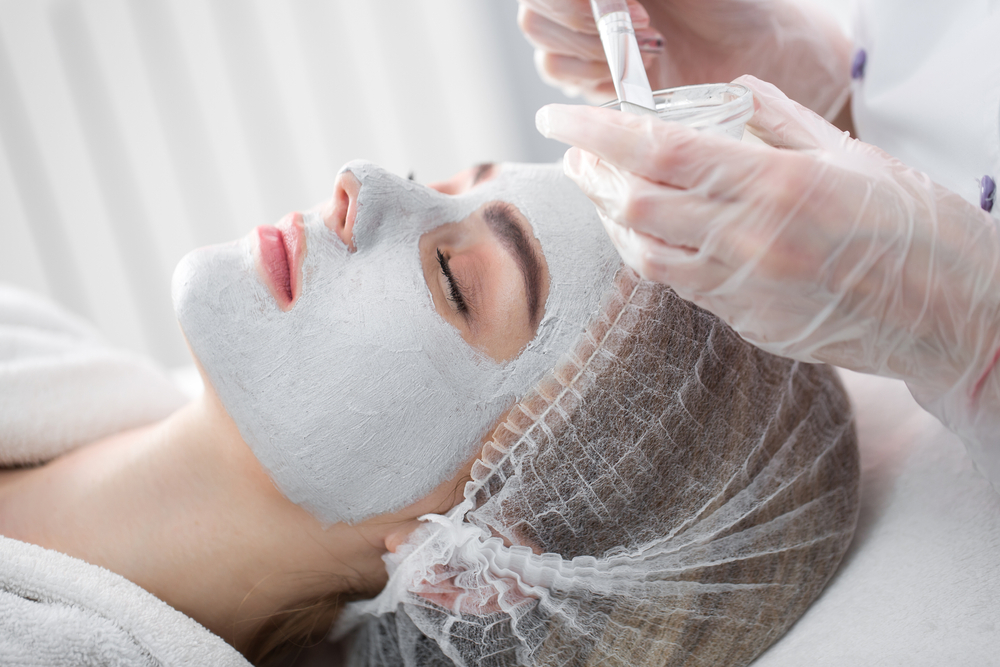
First things first, you must take care of yourself. Whether that be through something as simple as drinking enough water or having facial treatments, it’s your duty to ensure that you don’t get run down. You should look after yourself as well as you would anyone else; however, so many of us forget this. We get so immersed in our work that we forget to have a glass of water, or we have such a busy day that we skip dinner. If you live like this, you’re sure to feel run down and this will do you no favours when it comes to loving yourself.
Don’t Disapprove of Yourself
It’s so easy to put yourself down for the things about you that aren’t perfect; meanwhile, it’s incredibly difficult to remember that no one’s perfect. If you go to have a negative thought about yourself, just ask yourself whether you’d say this same thing to someone else. If the answer is no, then erase that thought from your head. It’s just as important to be kind to yourself as it is to be kind to everyone else. After all, we’re all capable of hurting our own feelings, and doing so isn’t beneficial to anyone.
Give Love to Yourself
If you’re trying your best every day, you deserve a pat on the back, no questions asked. You may not be doing everything perfectly but, hey, you’re trying, and nobody can ask more of you than that – not even yourself. You can only do what you can do, and your capabilities of every day will not be consistent. One day you might be able to get up, have a shower, get dressed, and that be it. Another day, you might be able to get up, have a shower, get dressed, and go for a five-mile run. Both of these are worthy of self-praise and love.
Love Yourself in Every Situation
It’s a lot easier to love yourself on the days that you’re looking good and feeling good than on the days that your hair’s a bit messy and you’re feeling a bit down in the dumps. Despite this, true self-love is about loving yourself in every situation. It’s important not to beat yourself up for getting things wrong from time to time and, instead, praise yourself for the things you do well. It can feel silly to give ourselves praise for doing well, yet it’s so easy to berate ourselves for getting things wrong.
Let Go of Wanting to Change Yourself
When asking the majority of people, they have a list as long as their arm of the things they wish they could change about themselves. This is something that we’d never even consider for the people we love most, so why is it any different for ourselves? Loving yourself is about not only accepting your flaws, but loving them, as they’re what make you unique. This is the final step to take towards learning to love yourself.